Garden Transitions: Bolting

Bouquet of broccoli flower, chive flower, and lemon balm

Bouquet of broccoli flower, chive flower, and lemon balm

Late May to early June is a transition period in the garden. We’re replacing bitter spinach with baby squash and planting tomatoes in the holes left by harvested head lettuces.

We don’t pull out Spring crops just to make room for Summer crops; many greens and brassicas (generally, the plants whose leaves we eat) will “bolt,” or flower, rendering their flavors bitter and their textures tough. You can spot the beginnings of bolting on most plants when the leaves begin to elongate and the plant begins growing tall rather than leafy. In the rosettes, or on the top of the stem, you’ll see a bud forming. You may be able to delay the process of bolting by removing the shoot, but for most crops, once it’s begun it can’t be reversed.

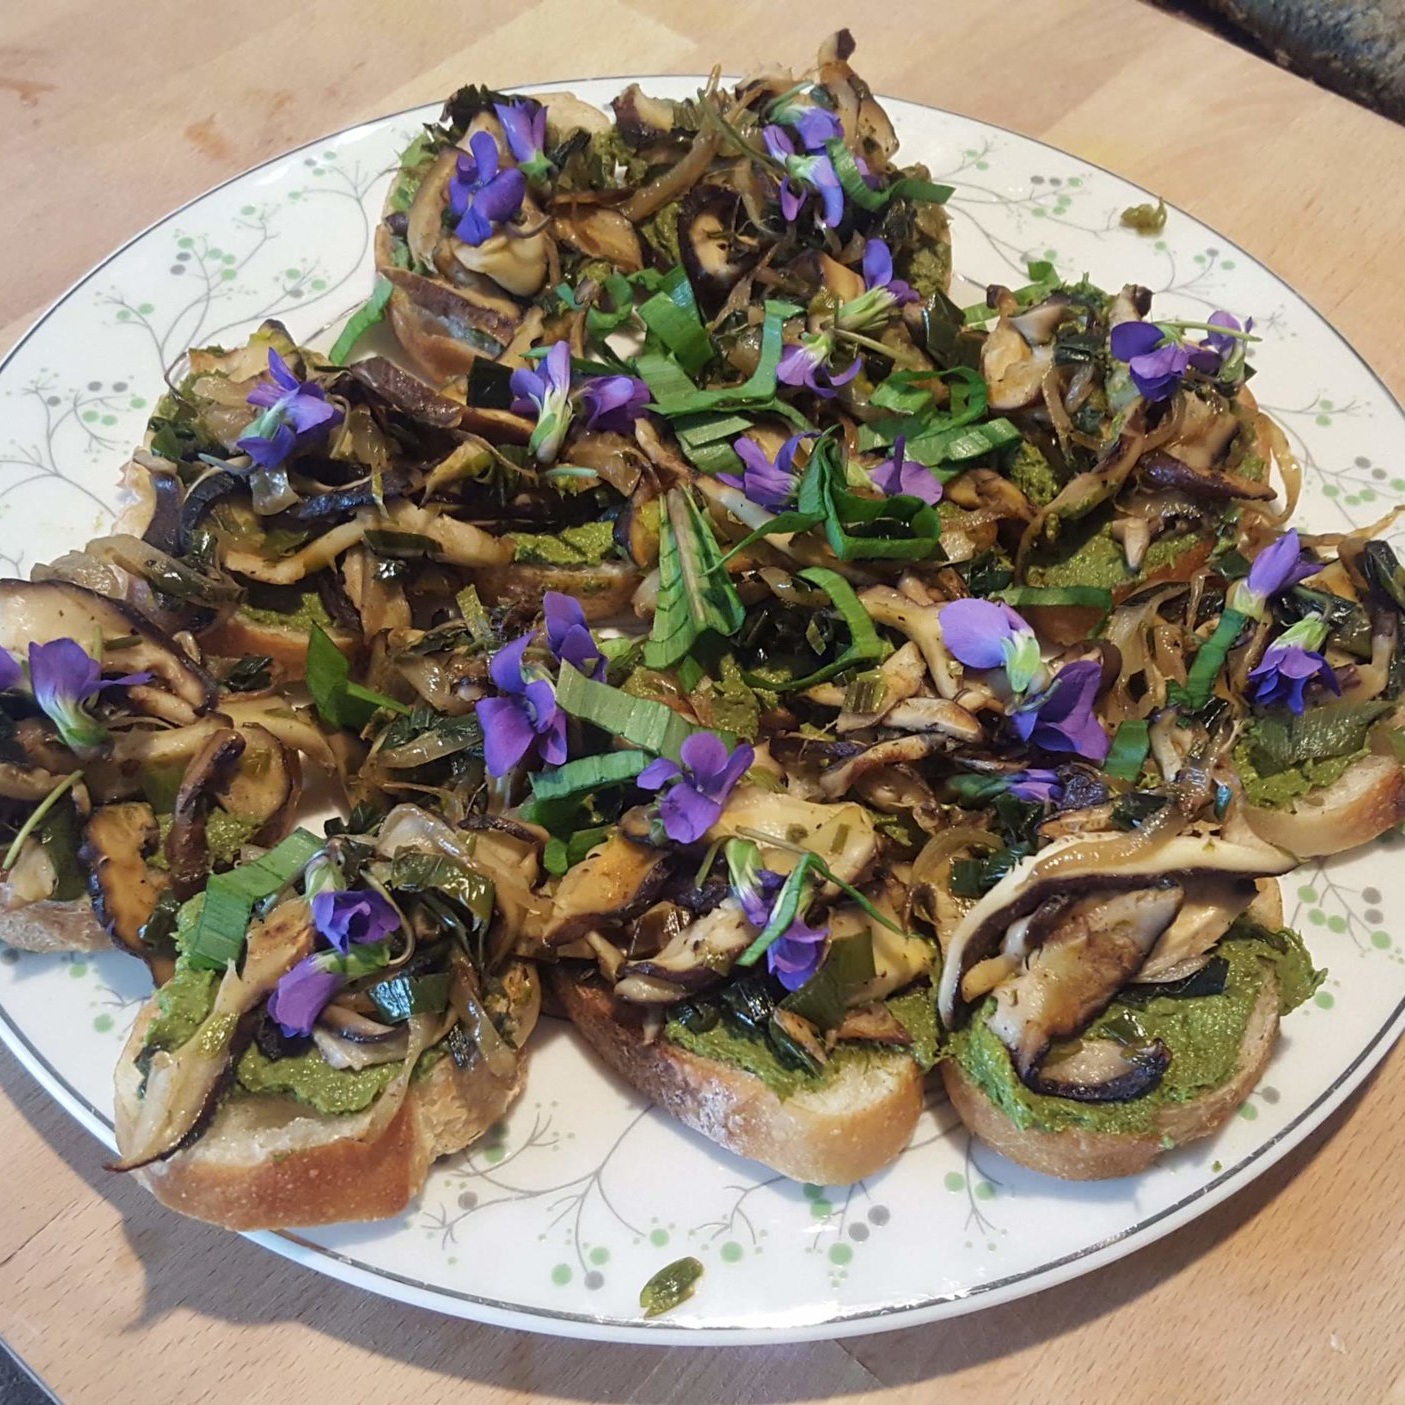
Bolting normally evokes groans from gardeners mourning the end of tender greens til Fall - but bolting isn’t all bad! Most crops send up tight clusters of small flowers whose close proximity makes them favorites of pollinators. These flowers also add pops of bright color to your garden and, in many cases, are edible! For example, kale or broccoli flowers are just as pleasant in a vase as they are on a plate, sautéed with garlic and a squeeze of lemon. The petals of chive flowers add a subtle onion flavor and act a beautiful garnish when sprinkled on top of pasta or fish. The peppery Arugula flowers lend themselves well to salads or scrambled eggs, and basil flowers can be used to make infused oils for salad dressings, dainty dessert toppings, or fragrant centerpiece bouquets!

So go ahead and take out your bolted plants when you’re ready to put in new crops, but enjoy the flowers while they’re there!


Tomato Tips

Tomatoes.jpg

Nothing says Summer quite like the fragrant smell and succulent flavors of the tomato. Friends, family, and clients have been asking about it for months and it’s almost here - tomato season. While getting our plants in the ground, we collected some basic tomato tips to share with you.

As with planting all seedlings, it’s important to start with healthy plants. Wherever you buy your tomato plants, check the seedlings for signs of pests or diseases: discolored foliage, spotted leaves, holes, and dried up branches are all symptoms of an unhealthy plant.  

When you get your tomato seedling to your garden, it’s essential to find the right spot for it. Tomatoes thrive in full sun and they’re prone to diseases that occur in damp conditions, so good drainage and air flow are a must. Caging, staking, or tying up your tomato will help increase air flow around the plant and will expose fruits for easy harvest.

Tomatoes are one of the only crops that should be planted deep. Snapping off any leaves that might get buried, plant up to ⅓ of the tomato stem. New roots will grow along the buried stem and will provide a more robust root system for feeding and support.

Because tomatoes are so sensitive to damp conditions, observing proper watering technique is especially important. Avoid overhead watering by watering the base of the plant rather than the leaves. It’s best to water in the morning so that any excess moisture can evaporate during the day rather than sitting on the plant overnight.

Once your tomato is established, it will start to grow fast. Pruning will keep growth in check, encourage airflow, and produce a more flavorful crop. When pruning tomatoes, look in the joints of the main stem and primary branches for side growth. These branches are called “suckers” and can be removed with pruners or shears.

Harvest tomatoes when they are plump but have some give and when their color has fully changed. They should come off of the vine easily with a twist. Store deep ridged heirloom varieties upside down to discourage pooling moisture and rot.


Chickweed Pesto

 
20190415_175554+%281%29.jpg

Last month, our team celebrated the Spring season by getting out of the garden and learning about edible wild plants! Our operations manager, Brody, invited us to visit his property and learn about the abundance of food growing there (both cultivated and wild). Among the “weeds”, we found chickweed, nettles, watercress, garlic-mustard, and violets - all of which are edible and have unique, delicious flavors. We enjoyed the medley of greens sautéed with some of Brody’s home grown Shiitakes and he graciously supplemented the bounty we collected with some chickweed pesto that he had made a few days earlier.

We loved the pesto so much that we thought we’d share it here - so go grab a few handfuls of chickweed from the backyard (or woods, or farmers market) and let’s get cooking!

Ingredients

  • 1/2 cup walnuts, cashews, or pine nuts

  • 2-3 cloves garlic minced

  • 3 cups chickweed loosely packed

  • 1 Tbsp lemon juice

  • 1/2 cup extra virgin olive oil

  • 1/2 tsp salt

  • 1/4 tsp freshly ground black pepper

  • 1/4 cup freshly grated Parmesan cheese

Instructions

  1. Place all ingredients into a food processor and process until smooth. (A blender can be used instead, but the chickweed should be finely chopped first)

  2. If it's too thick, slowly drizzle in a bit more olive oil.

  3. Keep refrigerated. Eat or freeze within 3-4 days.

This recipe is courtesy of www.growforagecookferment.com


Fish Emulsion

20190418_160553 (1).jpg

The sense of accomplishment after getting all of the Spring plants in the ground is hard to beat. It’s a beautiful sight: the vibrant greens and purples of the lettuce leaves, the tiny curly-qs of the pea shoots, the bright pink stems of the radishes about to bulb up. But after a few weeks, those colors might have faded and your plants might not looks so fresh. What’s a gardener to do?

To keep our plants healthy and growing with vigor all season long, we use a product called fish emulsion. Fish emulsion is made of ground and fermented by-products from the seafood industry. Much like the rice hulls we wrote about last month, fish emulsion is made of materials that would otherwise go to waste.

High in ready to use nitrogen and other nutrients, this organic fertilizer gives our seedlings an extra boost. You can read the general nutrient break-down of fish emulsion and other fertilizers by the N-P-K number. The N-P-K number provides the percentage by weight of nitrogen to phosphorus to potassium, the three major nutrients required for plant growth.

We apply this fast acting, liquid fertilizer to all of our transplants to help them acclimate to their new homes and help them grow quickly early in the season. We may apply a second helping a few weeks later to plants that look a little droopy due to insufficient watering or nutrients. We also focus particularly on plants in the Brassica family, such as kale, cabbage, and broccoli,  which can be heavy feeders.

So how can you use fish emulsion at home? Most garden centers will carry a few brands of fish emulsion or fish fertilizer; these will be heavily concentrated and will need to be diluted. In a sprayer or watering can, add two to three tablespoons of fertilizer for each gallon of water (double check the instructions on the label as it will vary depending on brand, nutrients, and concentration). The resulting mixture should look a little murky but should not be thick. You can apply fish emulsion by watering the plants with the mixture as you would normally, or by spraying it over the leaves as you would with a foliar fertilizer. Applying fish emulsion can be a bit smelly, but there are products that have been “deodorized” with wintergreen or lavender. We recommend trying these out if you want to apply fish emulsion on your houseplants indoors!